Free online guide · food photography

How to prepare for a food photography shoot

Good photography does not begin with the shutter. It starts with the dish selection, kitchen rhythm and a space where every plate can look its best.

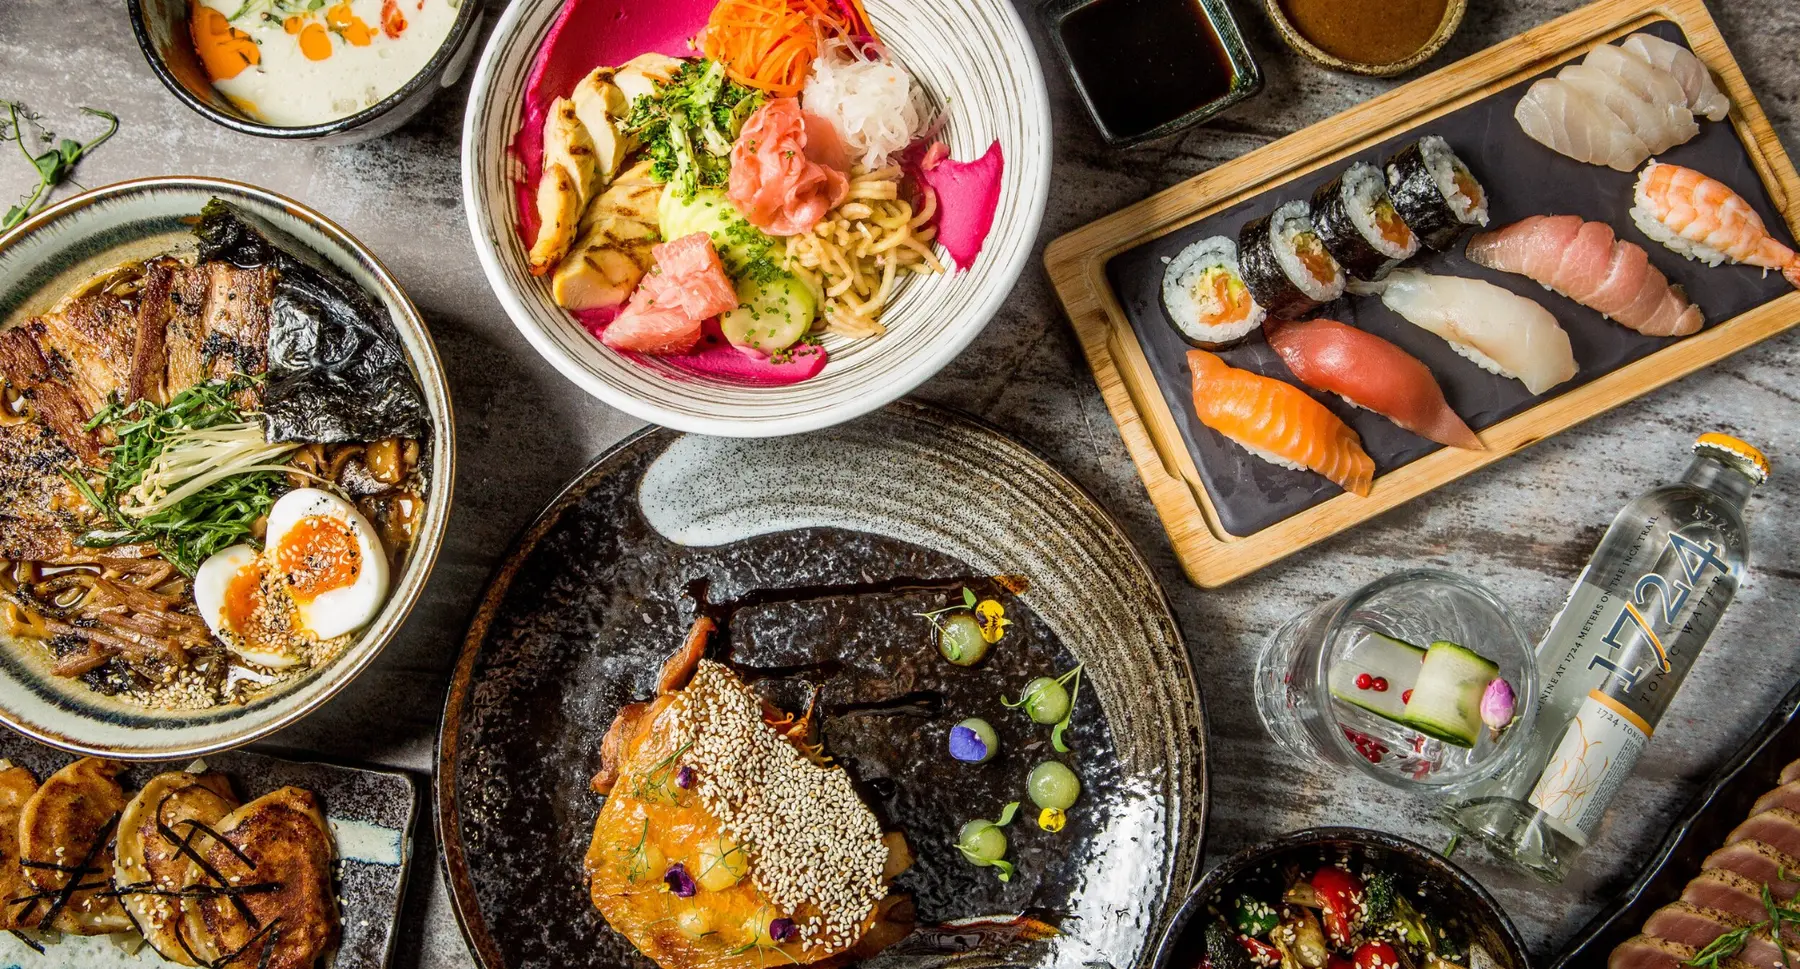
Professional overhead food photography

Before the photographer arrives

4–6

varied dishes are enough to build a strong, useful series without putting unnecessary pressure on the kitchen.

1

person makes decisions, checks each plate and coordinates the kitchen flow.

01

Decide what the images need to sell

  • Send the current menu at least two days before the shoot.
  • Select 4–6 varied dishes that best represent the offer.
  • Specify where the images will be used: website, delivery platforms, social, PR or print.
  • Share references and explain what makes the restaurant different.
02

Prepare a working area

  • Provide a table at least 90 cm long, ideally 1–2 m, with room for lighting.
  • Move or switch off low pendant lights to prevent reflections.
  • Provide a second table for equipment and a stable chair or step ladder for overhead shots.
  • Choose an indoor area where the shoot will not disturb guests.
03

Make plates and portions work for camera

  • A smaller, full plate usually photographs better than a large, empty-looking one.
  • Portions still need to feel generous to the guest.
  • Tall bowls and baskets require a higher angle so the contents remain visible.
  • Prepare several plate sizes, boards, sauce bowls, sides and garnishes.
04

Style for the camera angle

  • Low dishes often work best from directly above.
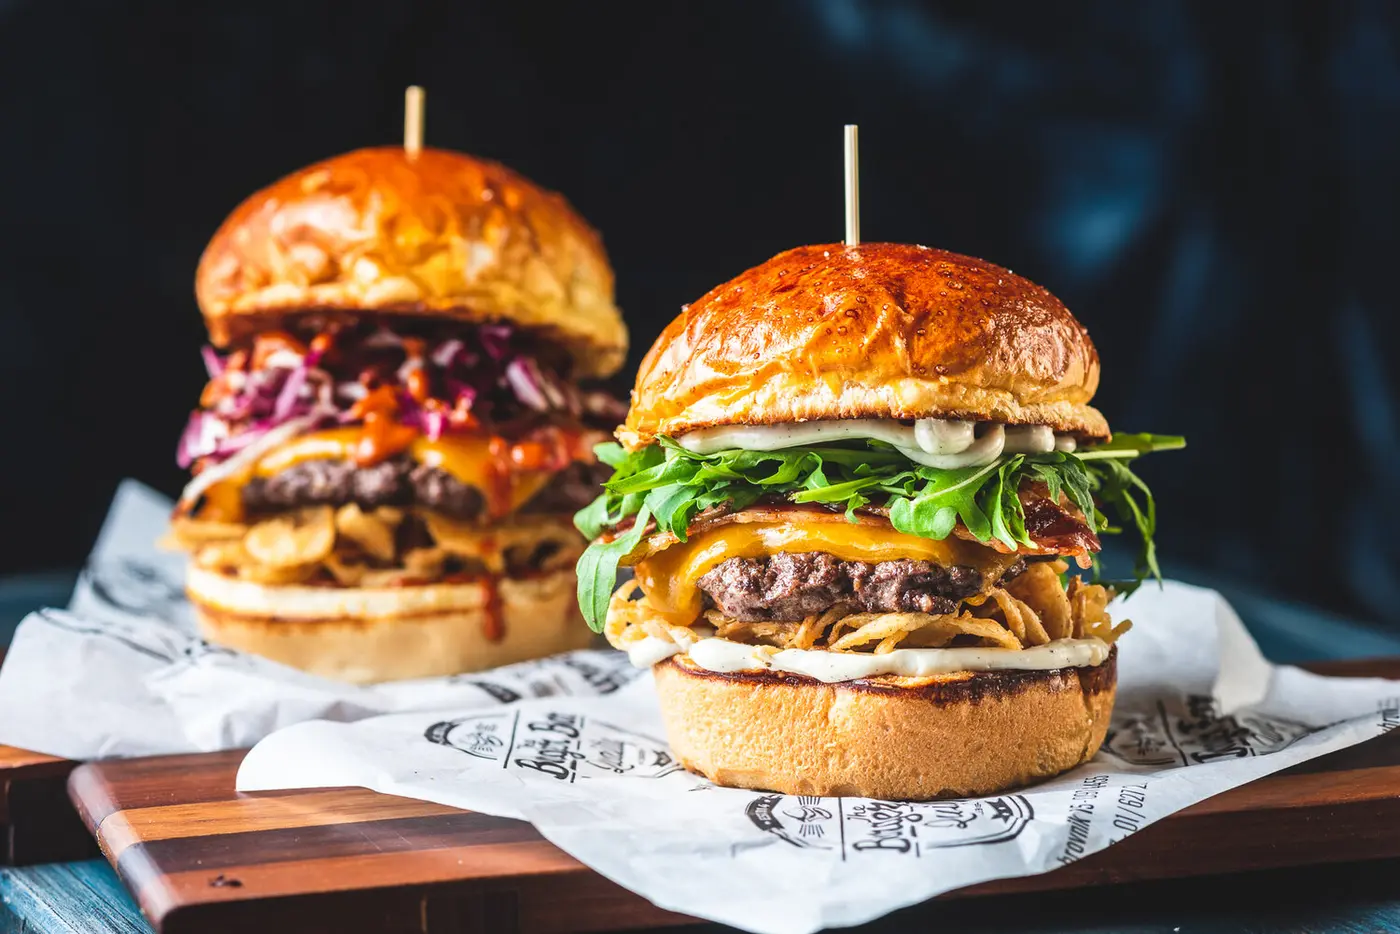
  • Food with height, such as burgers, usually works better around a 45-degree guest angle.
  • Build volume into burgers and salads so they do not look compressed.
  • Style the plate only after the intended angle is clear.
05

Organise the kitchen flow

  • Bring dishes one by one, only when the set is ready.
  • Start with the dish that remains fresh and attractive the longest.
  • Allow extra time for the first image while lighting and styling are established.
  • A group image of 3–5 dishes can be created at the end if planned in advance.
06

Protect freshness

  • Prepare ice cream, foam and delicate food only once the set is fully ready.
  • Sauces, sides and stable dishes can be prepared earlier.
  • Reuse ingredients across dishes when that makes production more efficient.
  • Check every plate before it leaves the kitchen: rim, sauce marks, freshness, shine and garnish.
07

Tell the whole story

  • Food photography is marketing: prepare cutlery, textiles, packaging, spices, ingredients and branded details.
  • For group shots, include smaller elements such as drinks, bread, sauces and ingredients.
  • Decide whether hands, staff, interiors or service moments should appear.
  • The goal is not only to show a dish, but to sell the experience before the guest arrives.

Pre-shoot checklist

When these are ready, the shoot runs smoothly.

  • Current menu sent
  • 4–6 dishes selected
  • Image uses and formats agreed
  • References and restaurant differentiators shared
  • Working area and table cleared
  • Plates, boards, textiles and props ready
  • Kitchen sequence agreed
  • One decision-maker available during the shoot

Your food already has character. The images should carry it.